Hello and Welcome back.
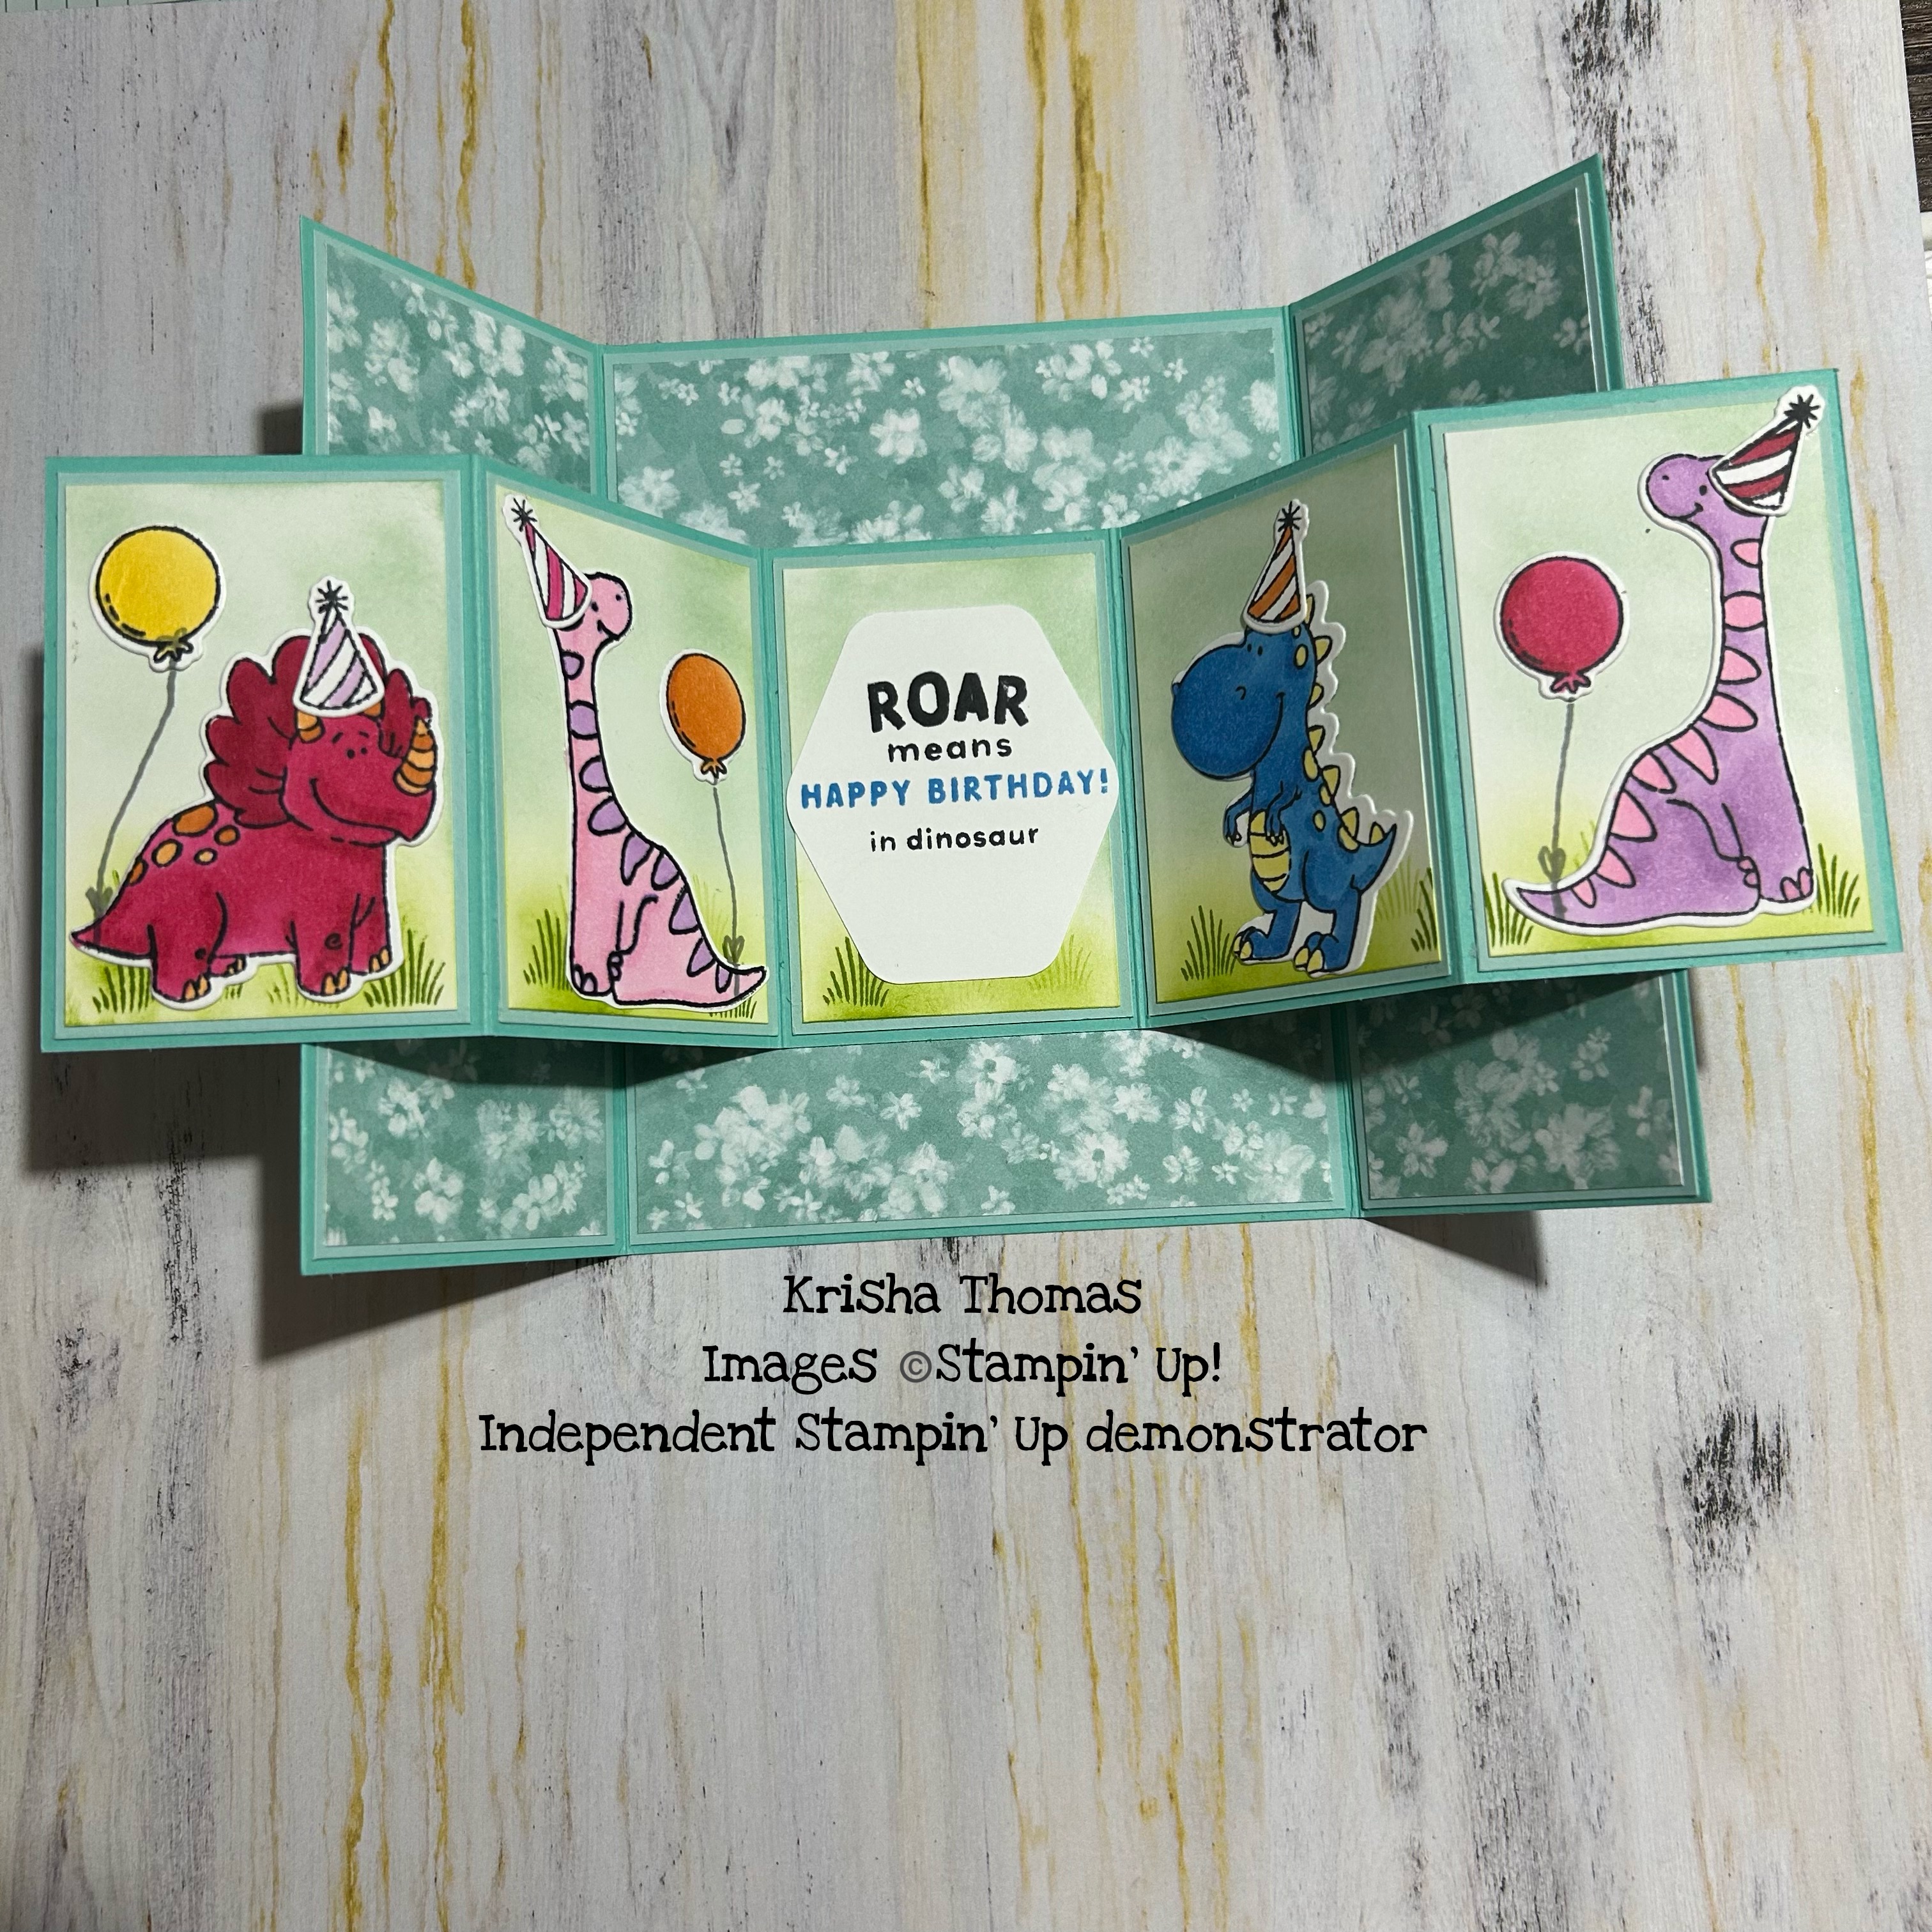
Today's cards are Accordion gatefold cards.
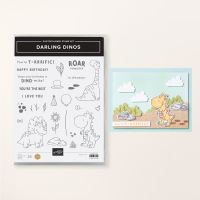
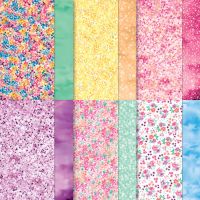
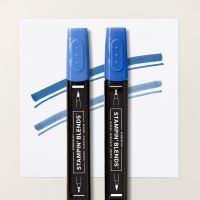
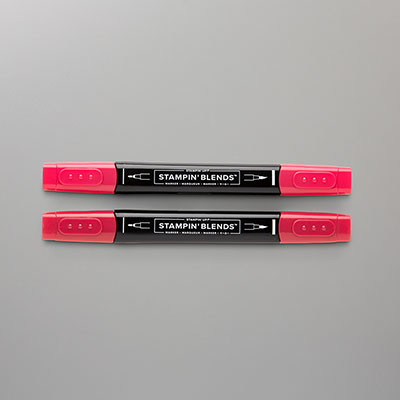
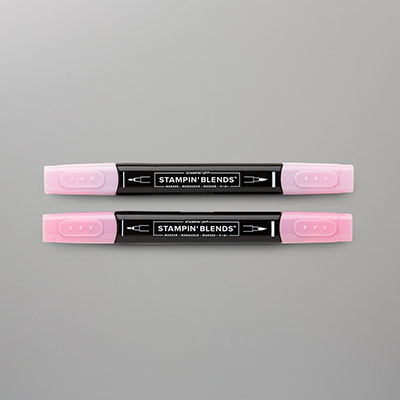
The first one is made using the Bloom Impressions DSP (Retired 2025 Sale-a-Bration rewards) and the Darling Dino stamp set. I've used a mirroring technique to copy the Long Neck Dinosaur that's inside the card and blending brushes to colour the sky and grass on the pop out part of the card.


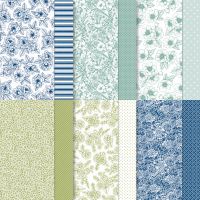
On the second card, I've used the Serene Love DSP and created the clouds, by die cutting a cloud from a scrap of DSP and then using this as a mask to use with the blending brushes.


To make this card you need:
Card Bases
Accordion: 3x 10 5/8 (Score at 2 1/8 and 4 1/4 from both ends
Card Base: 5 1/2 x 9 1/2 ( Score 2 5/8 from each end to create the base of the card and then score at 1/2 on each end - cut along this score 1 1/2" each side to create the tabs)
Accordion panels:
Cut 5 from cardstock : 2 x 2 7/8
Cut 5 from DSP or Cardstock: 1 7/8 x 2 3/4
Card Panels:
Cut 4 from Cardstock: 2 x 5 3/8
Cut 4 from DSP: 1 7/8 x 5 1/2
Cut 1 from cardstock: 4 1/8 x 5 3/8
Cut 1 from DSP: 4 x 5 1/4
Fold and burnish all the folds on the card base.
When folding the accordion base, fold in a zig zag pattern following mountain then valley, then valley and mountain. Burnish.
Adhere the panels to both the card base and the front of the accordion piece. Decorate as wished.
Glue the back of the accordion card to the middle of the card base. Then apply glue to the inside of the tabs on the left side of the card. Fold the card so that the last panel of the accordion remains out of the card and press this into the tab with the glue.
Then repeat on the right hand side.
This card takes some time to put together. I recommend using liquid glue when putting to together to allow for some wiggle room when placing all the pieces. If you are a visual learner, there are a lot of video tutorials online that can show you how to put the card together.
If you live in Australia and don't already have a Stampin' Up! Demonstrator, please reach out I would love to help you. You can also find all the items I have used listed below with links to my online store.
Product List Until next time,
Happy Crafting
 |  | ||
 |  |  | |
 |  |  |  |
 |  | ||
 |  |