Hello,
With Christmas fast approaching, It's time to start making your Christmas cards so you have them on hand when you are ready to post them out. The stamp set I am featuring today is one of the online exclusives only available from my online store here
When I first saw this stamp set, I knew it would be perfect for illuminated cards. The imaged feature a number of stamps featuring a stain glass window effect including two large images in circles.
These cards are really simple to make, all you need is a piece of card stock measuring 4 1/8" (10.5 cm) which is half an A4 sheet. The score it along the long edge at 4", 5 1/2", 9 1/2" and 11" (OR 10 cm, 14 cm, 24 cm and 28 cm). Fold and burnish along each of the line and you can see that you have your basic box card. You will be left with a small flap at one end of the card, this is where you will place your tape or glue (or both) to complete the box, however don't do that until you have die cut the window at the font and adhered in your images or else you wont be able to put these in.
As you can see from the images below, you box card will be able to stand up by itself and will fold flat to fit into a standard envelope.
You can choose the size and shape of the window you cut and fill it with a piece of vellum that covers the inside of the card.
I also like to place a square of basic white card on the back, where I can write my message to the recipient of the card.
Below I've shared a couple of the cards I made using the different images from the stamp set and using different dies to cut out the window.
PLEASE NOTE - as these cards are made of paper they are highly flammable, therefore ONLY use a battery powered tea light or torch to illuminate these cards.
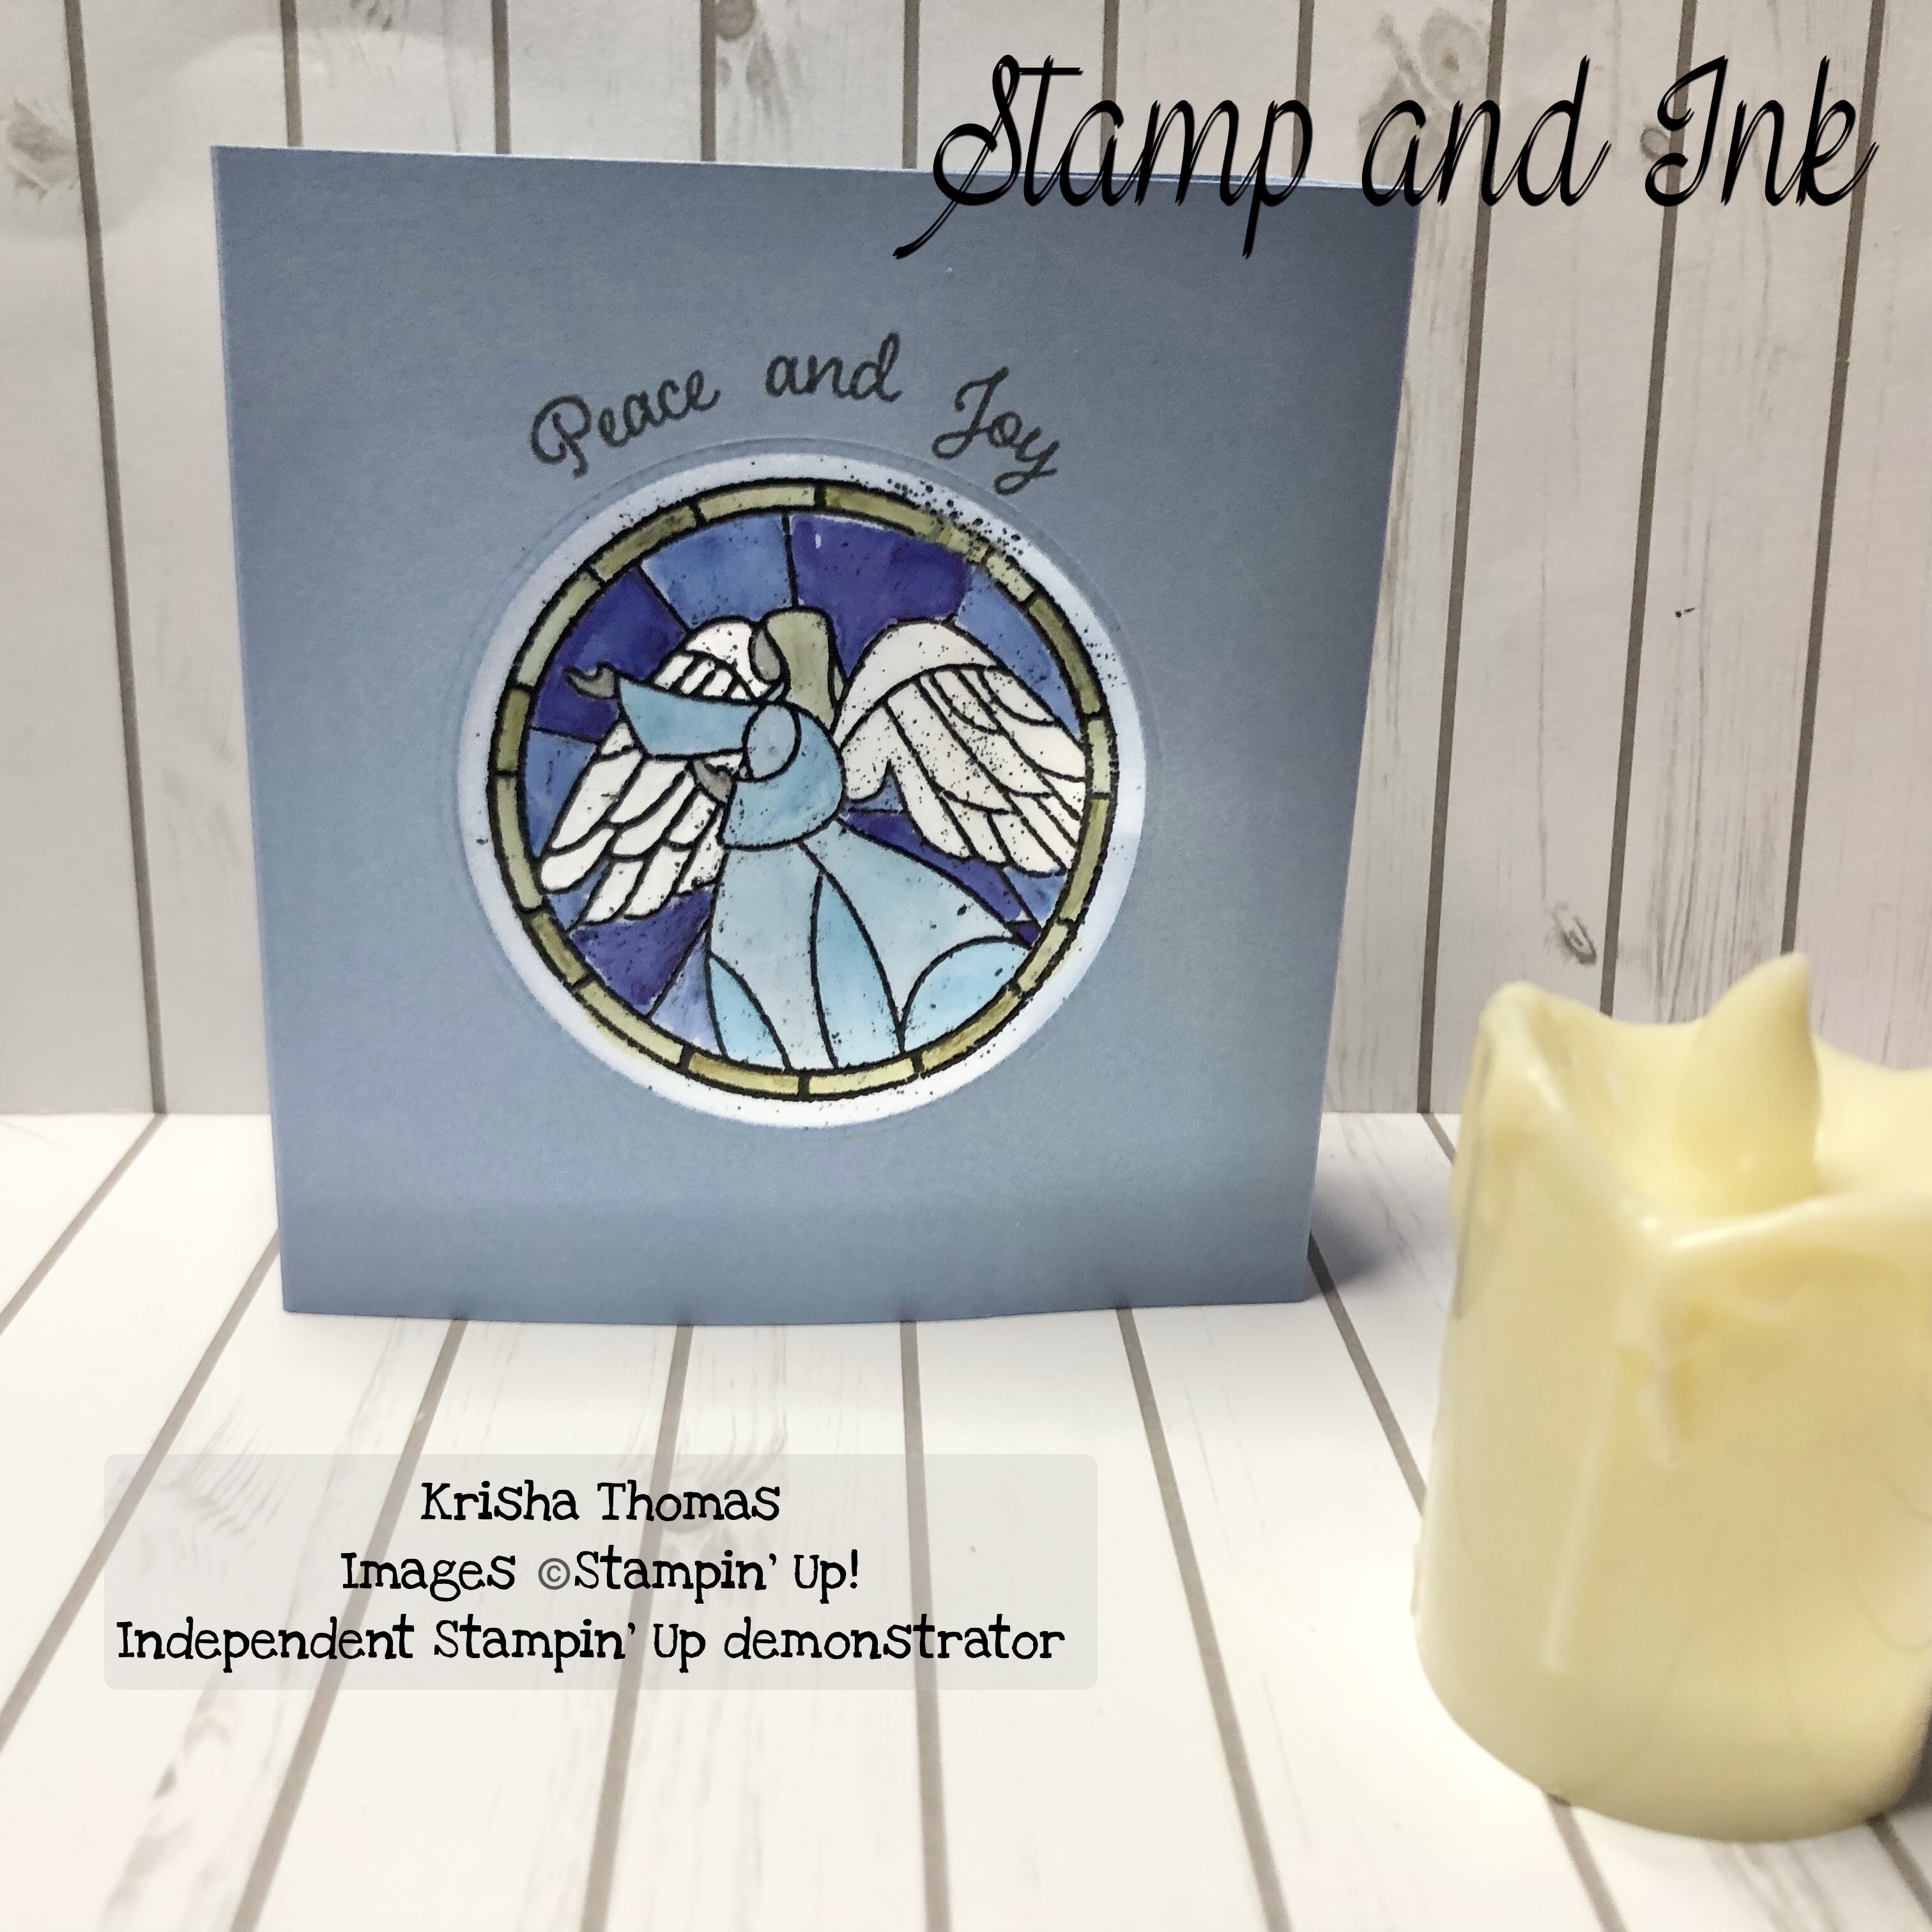
The Angel card, was made using one of the 2023-2023 in colours - Boho Blue. I cut a round window using the retired nesting circles dies. I've stamped the angel image onto a square of velum using black stayz on ink and heat embossed it to create a true stain glass window effect. To add the colour, I coloured the back of the image using Stampin' blends. To get white wings, I used the white ink refill and the water painter tools to brush the ink onto the wings. I stamped the sentiment above.
The Santa card was made in the same way as the Angel card, although the image was coloured from the front and the window was cut using the 2 3/8 circle punch. As you can see, using the punch instead of the die, makes the window a lot higher and resulting in the sentiment needing to go under the window. Again this image was heat embossed and I again used the white ink to colour Santa's beard and his hat.
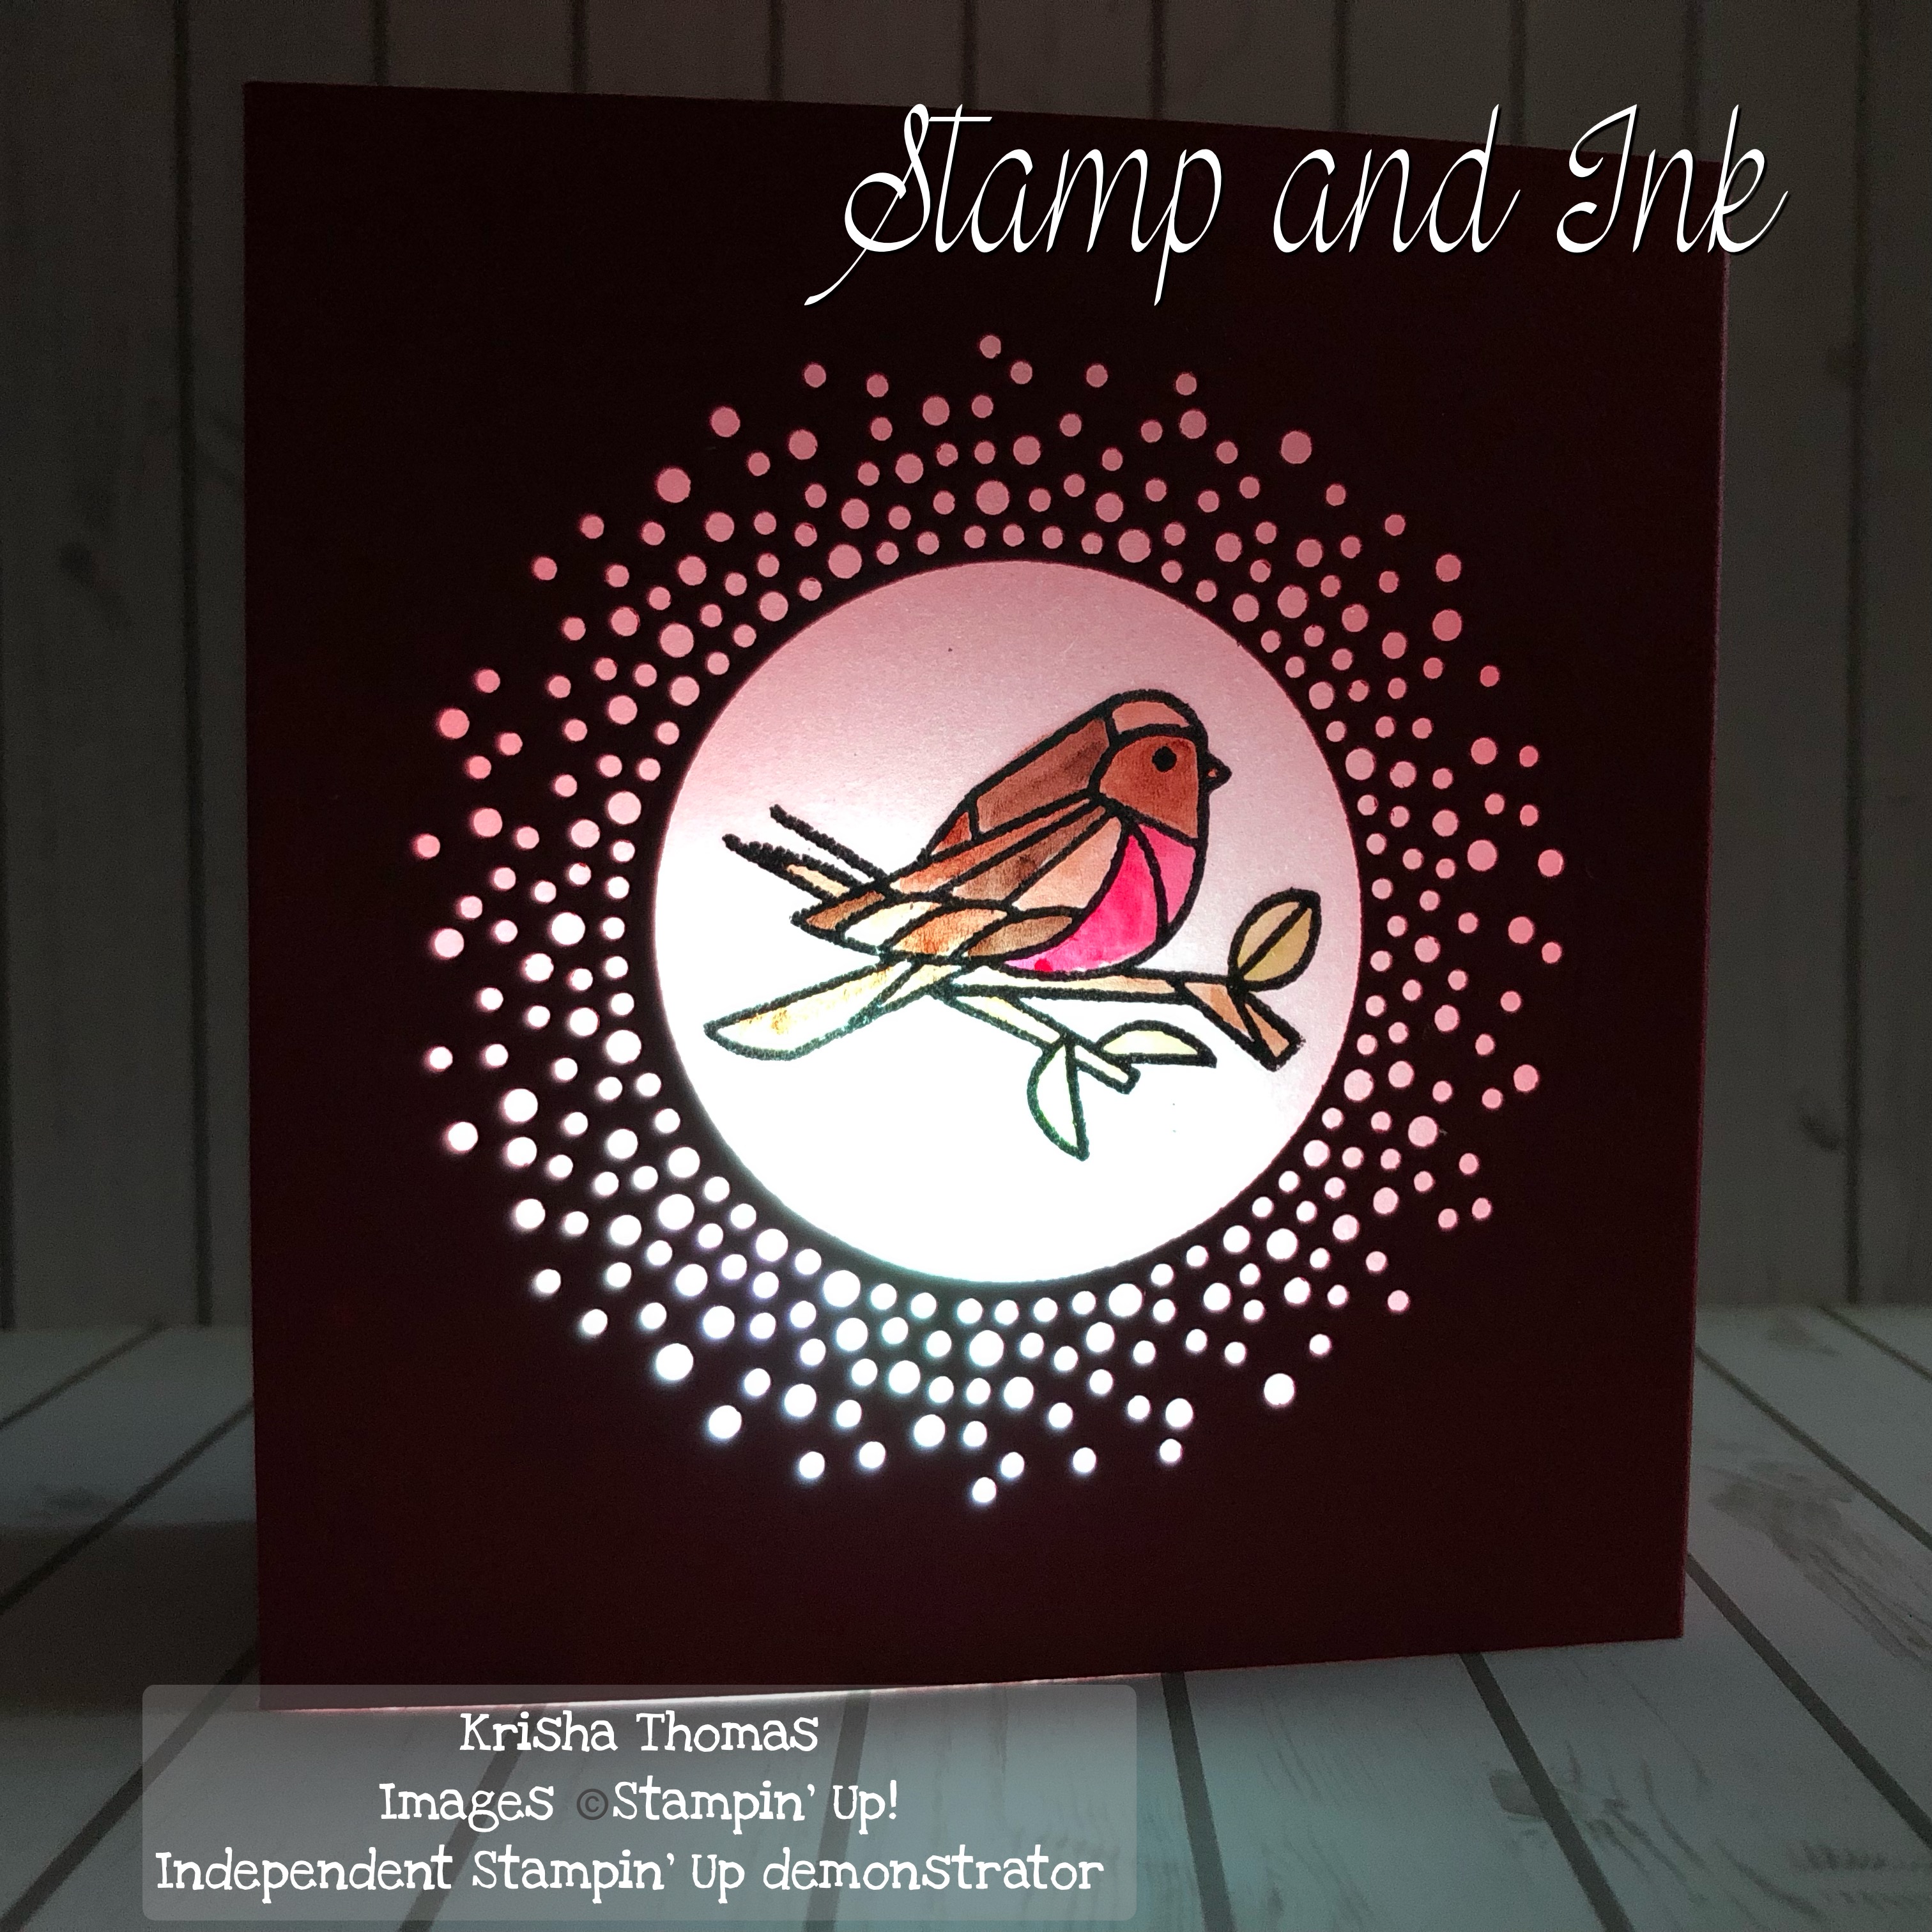
For the bird card, I heat embossed the image and coloured it using the Stampin' Blends to resemble a Robin. The window of this card was created using the large circular die from Labels Aglow Die set. This creates a lovely soft glowing frame when the card is illuminated.
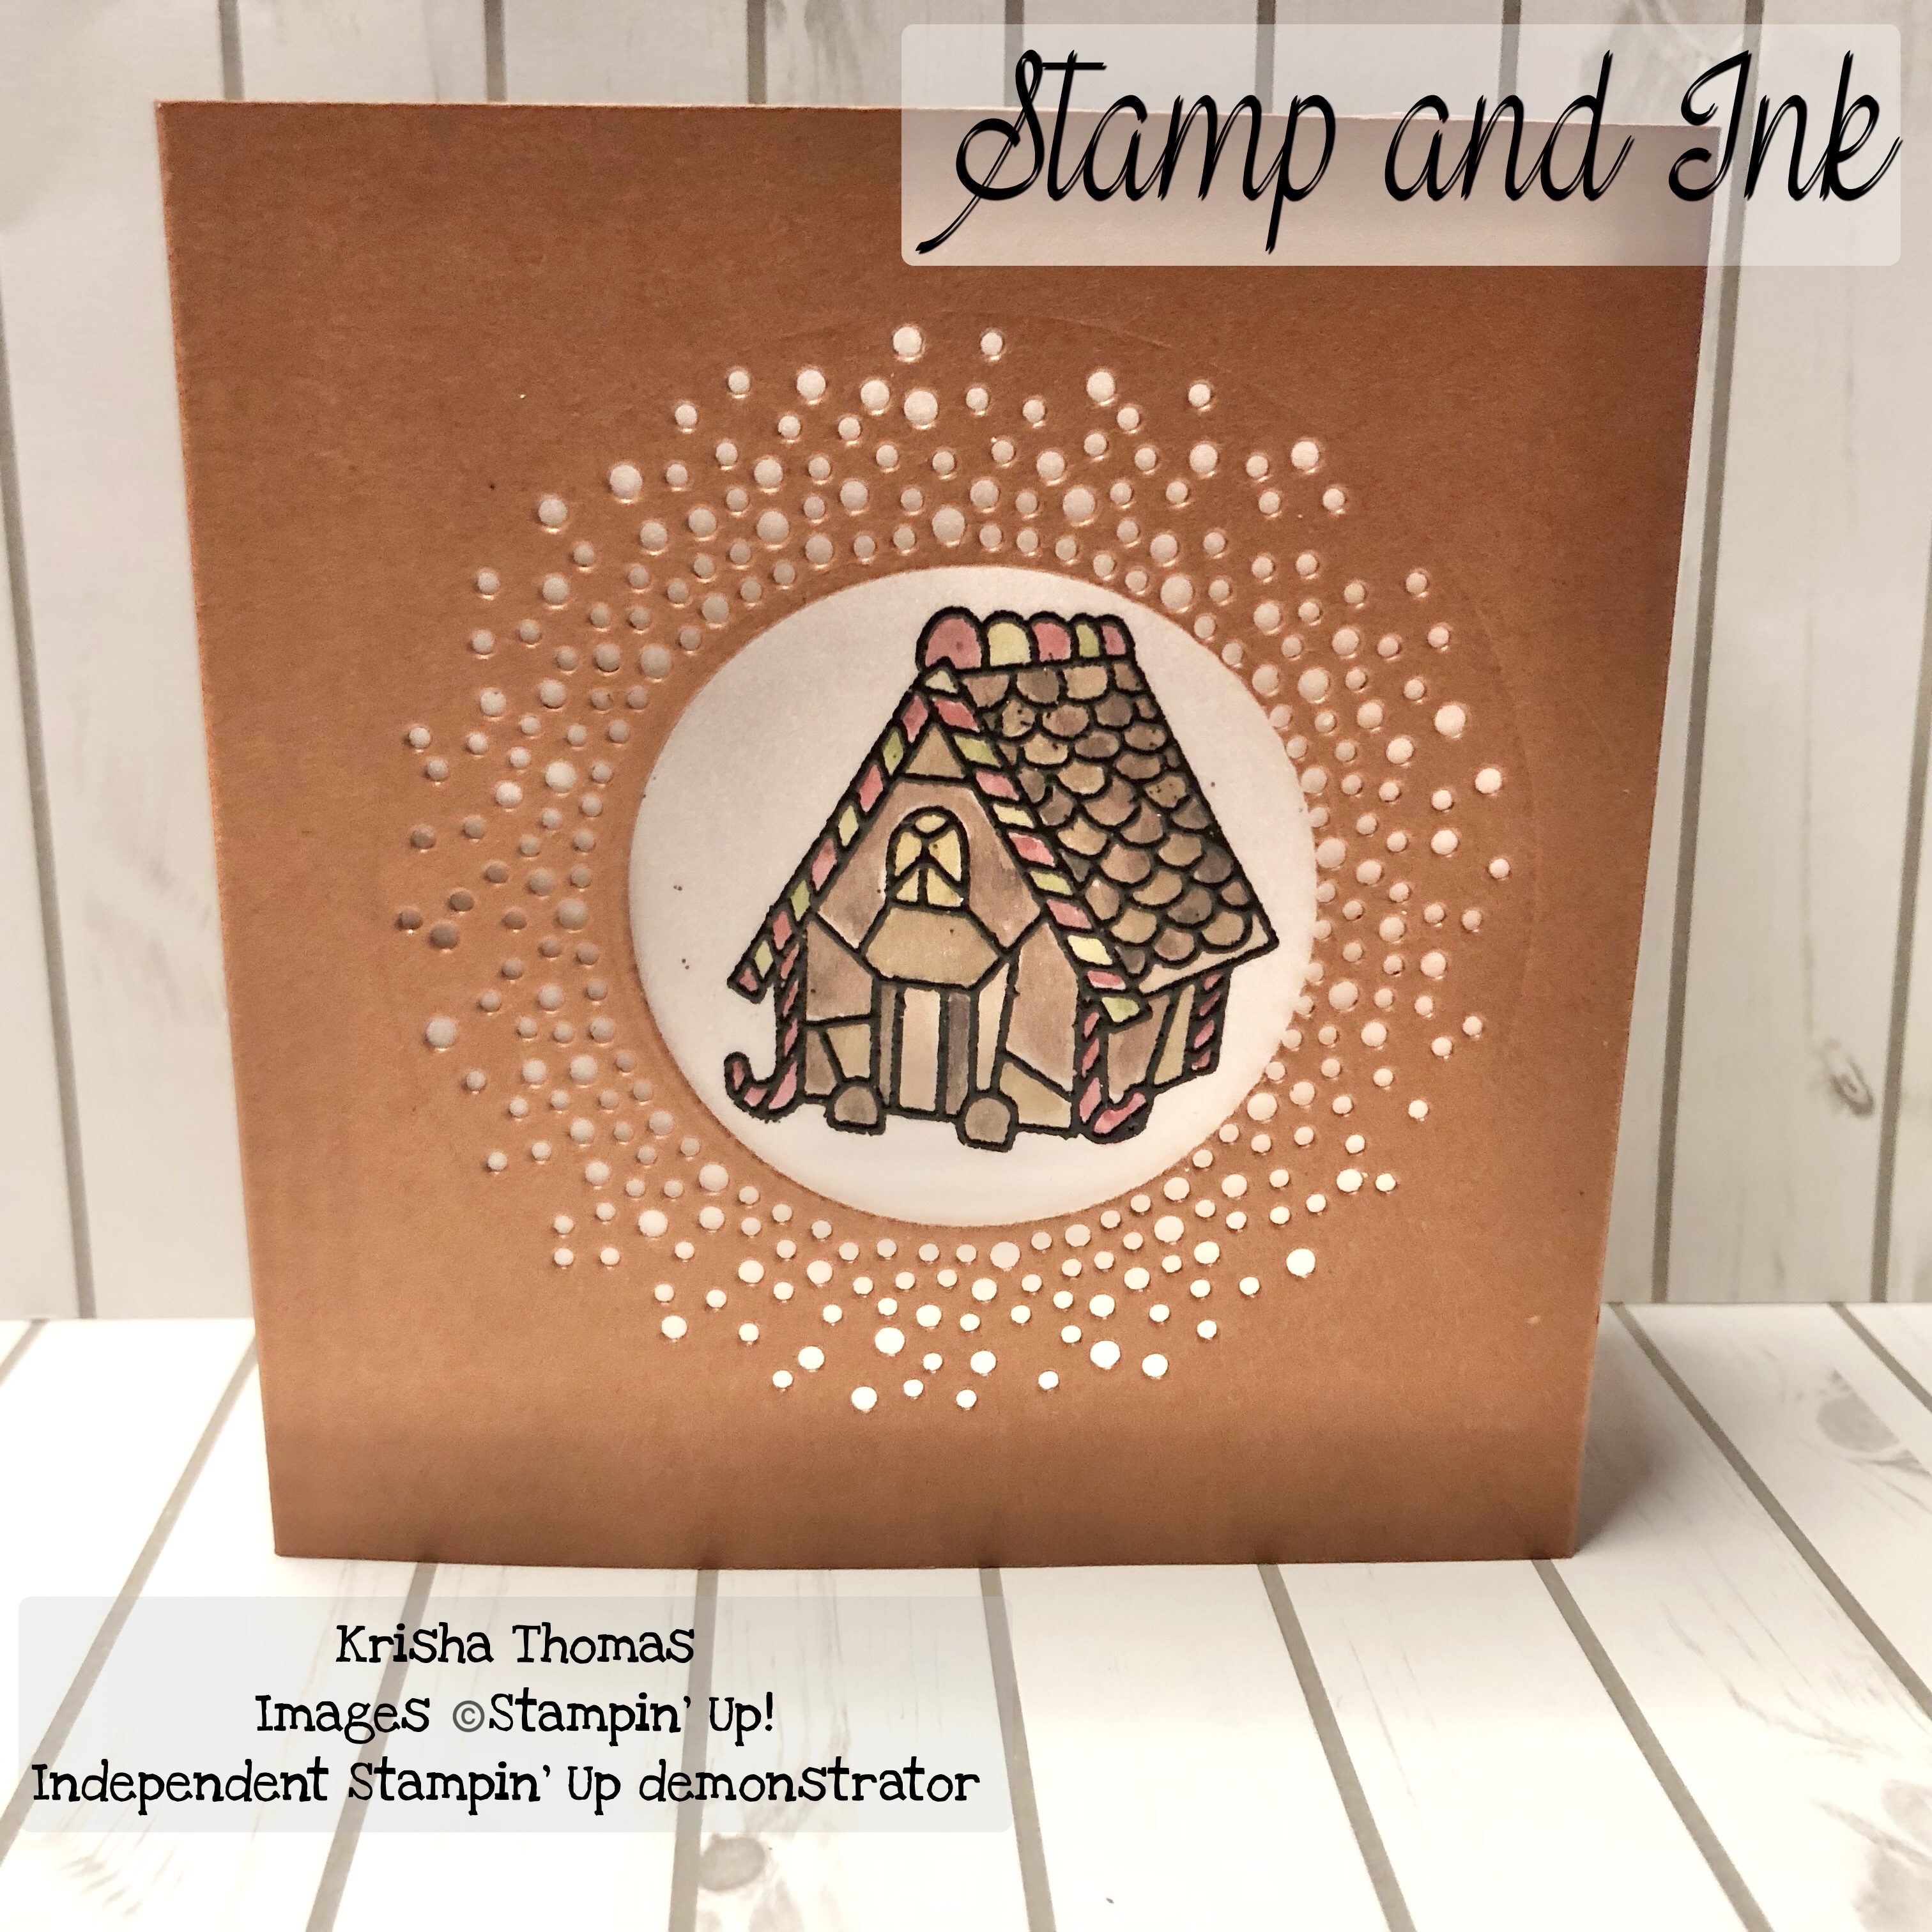
My final card uses the gingerbread house stamp and again uses the Labels Aglow dies to create the window. This one was illuminated using a colour changing tea light which gives it a multi-coloured glow.
If you live in Australia and do not already have a Stampin' Up! Demonstrator and you would like to create these cards yourself, you can find all of the stamps, dies and colouring tools I've used in these cards on my online store
here.
Don't forget if you received a coupon in July's Bonus Day's Promotion, they are now available to be redeemed.
Are you looking for a quick and easy way to make a number of cards? Or are you someone who likes the idea of making cards but doesn't want to invest in all the tools in case you don't like it? Or are you someone on a limited budget would like to create cards, but fear it's out of your budget?
Then this current promotion is for you! Stampin' Up! has a variety of kits that are suitable for every level of crafter and include both stamping and non-stamping kits. All kits have everything you need to make the cards in the kit and for this month only they are up to 30% off. That's a saving of up to $10 per kit! Why not head on over to my online store
here and check out the available kits.
I have one more card design to show to featuring the So Very Merry Stamp Set in my next blog,
So until next time,
Happy Crafting


 Designer Series Paper")
 Designer Series Paper")


