Showing posts with label Gingerbread & Peppermint Suite. Show all posts

Thursday, 30 September 2021

Gingerbread and Peppermint Floating Gatefold Card

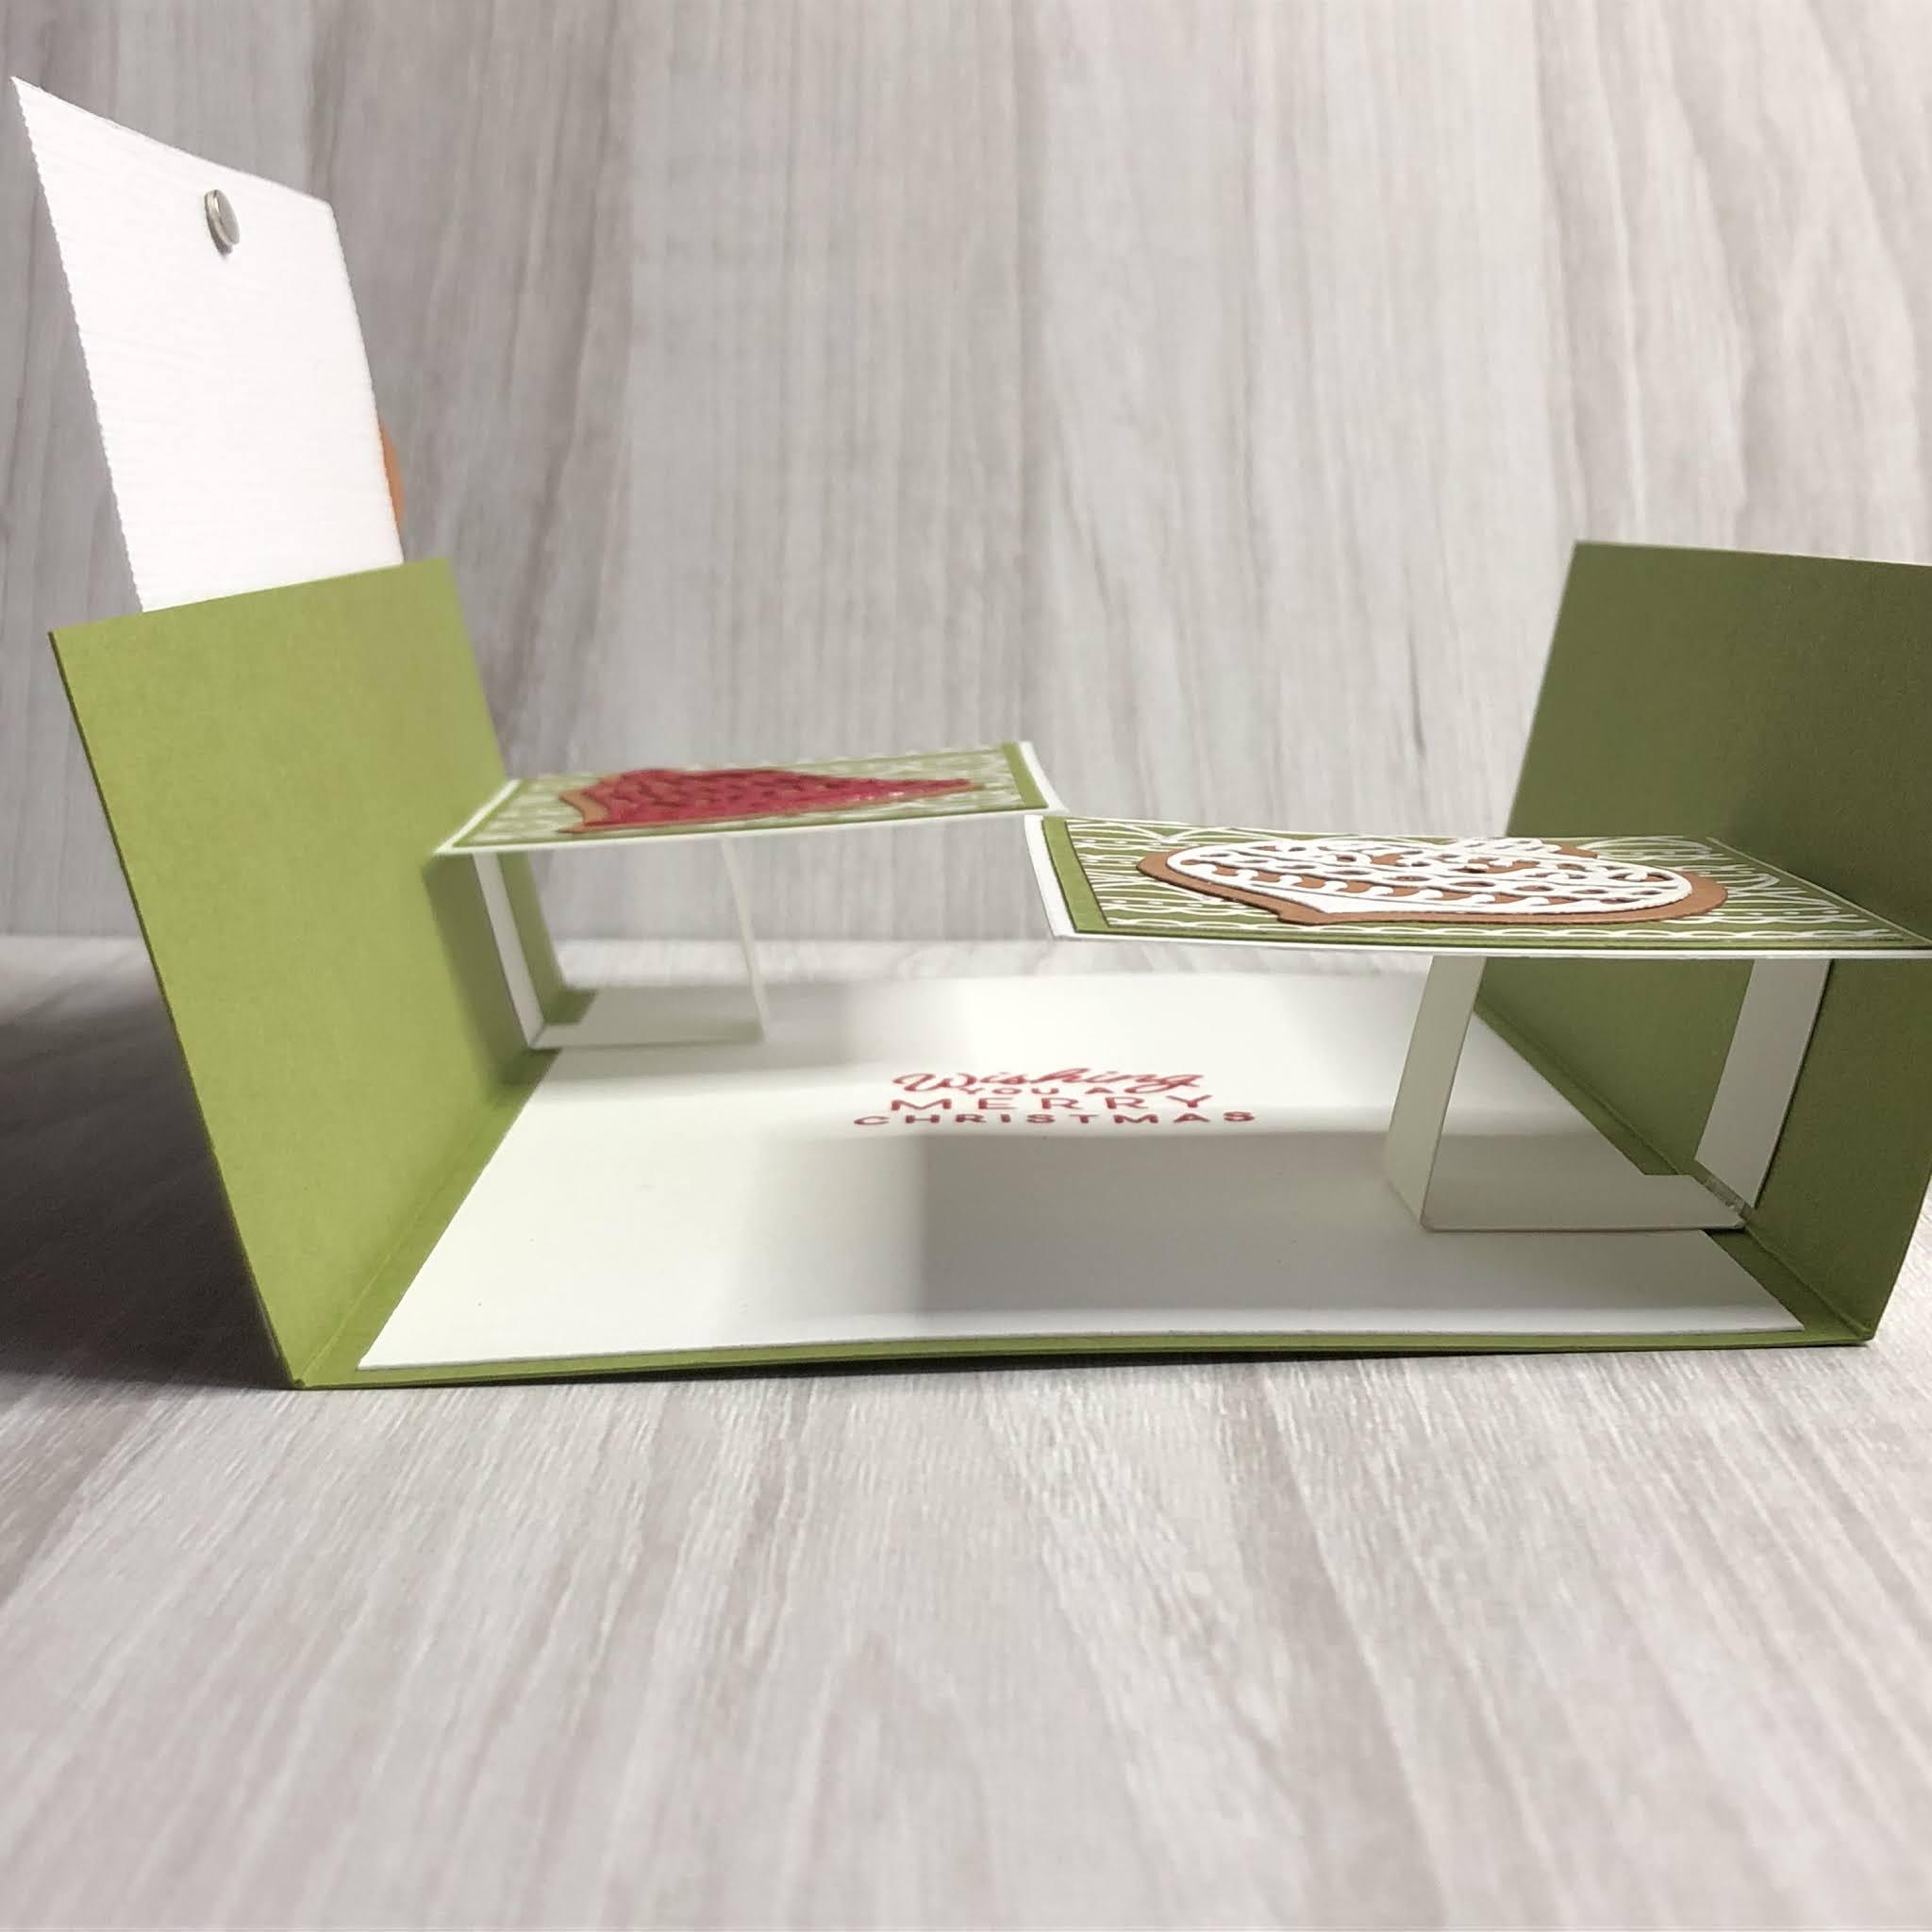
I'm not sure what it is about Fancy Fold cards, but I find myself drawn to making them over plain flat cards. I think it's the challenge of making something that literally pops in your face. These floating gatefold cards do just that - they pop as soon as you open them.

They are relatively simple to make, they just take a little time and consideration when placing the floating pieces inside to ensure that you can still open and close the card easily.
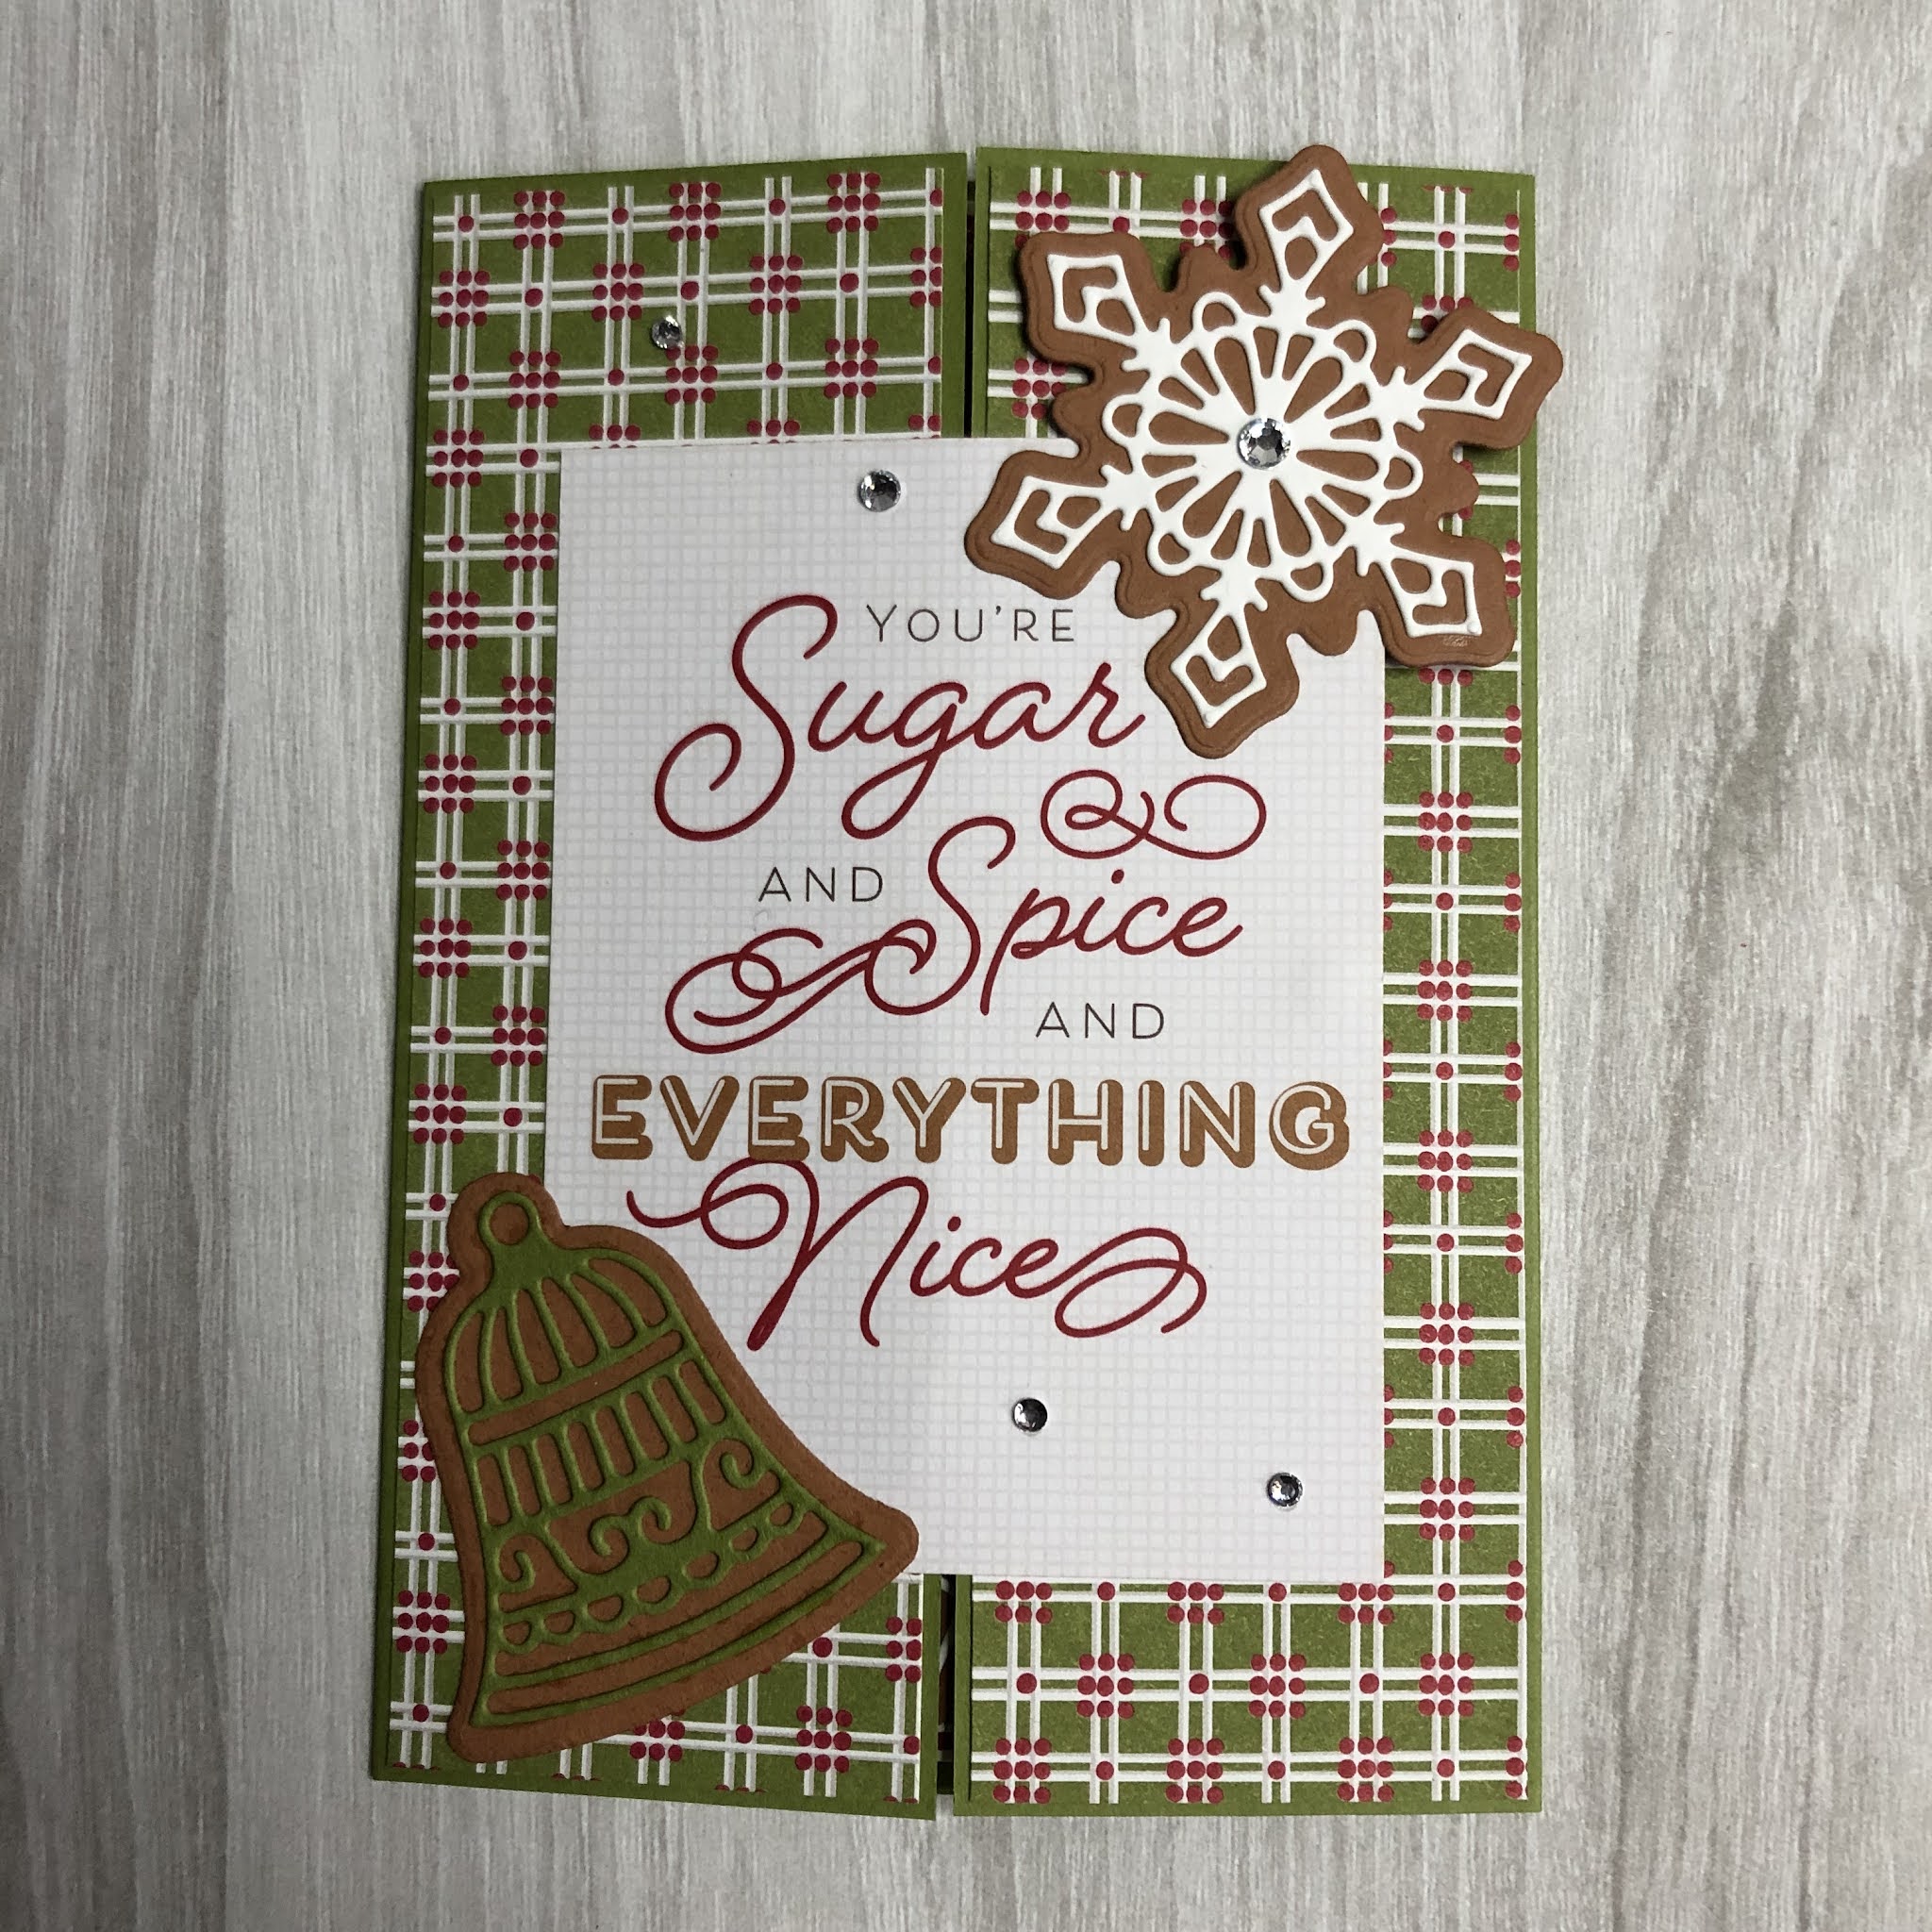

On the front of the card started by using some of the Gingerbread and Peppermint DSP for the base layer. I've then used some of the cards from Gingerbread and Peppermint Memories and More card pack to form the sentiment on the front of the card.And finally, I've used some left over biscuits from the wreath last week (you can see it here if you haven't seen it before) with some Rhinestones to finish it off. 


Inside, I've stamped the card with one of the sentiments from the Frosted Gingerbread stampset and placed some more biscuits on layers of cardstock and the Gingerbread and Peppermint DSP.  To make them float, you need a 4" long piece of card (Width doesn't really matter as long as it's not wider then the item's you want to float). Score this at 1", 2" and 3", then fold to create a square. Adhere the two open ends to the card - one to the flap and one to the base - opening and closing the card to make sure it will close and also open flat. When securing the floating square - make sure you line it up with the edge of the side flap so that it will close.

You may notice that the card does not close completely on it's own. Some people will make a belly band to help it close, however I've use mini magnets on the inside to secure my cards.


Here are some more variations to the same card, using different patterns from the DSP and different images from the card pack. Below I've included a list of the product's I've used in these cards, If you click on the link you will be taken to my online store where these are available for purchase.


I hope you've enjoy looking at the card's I've made. 

Until next time

Happy Crafting.


Product List
Old Olive Classic Stampin' Pad
[126953]
$11.50

Saturday, 25 September 2021

Gingerbread wreath

Today marks 13 weeks until Christmas and I'm starting to get a little excited. Christmas is my favourite season of the year, it  falls during summer here in Australia so the weather is starting to warm up and the days are longer.

I've been exploring the Gingerbread and Peppermint Suite a lot over the past few weeks and today I have used it to create something a little different.


What do you think of my wreath? As soon as a saw the dies for this suite, ever before I purchased it, I knew I wanted to make a wreath with it. I's so happy with how it turned out. I made about 200 of the biscuits in different colours because I wasn't sure how many I would need or how I would lay them around the wreath - but this layout only took 24 cookies. The wreath itself is from Kmart and cost about $7, I think I might have to get some more!


Heres the second wreath I made - this time using non-traditional Christmas colours. I do like it - but I think it kinda feels more Easter-ish then Christmasy.

Which one do you like best?

Below is a list of all the products and colours of the cardstock I've used to create these wreaths 


Product List


Friday, 24 September 2021

Gingerbread house

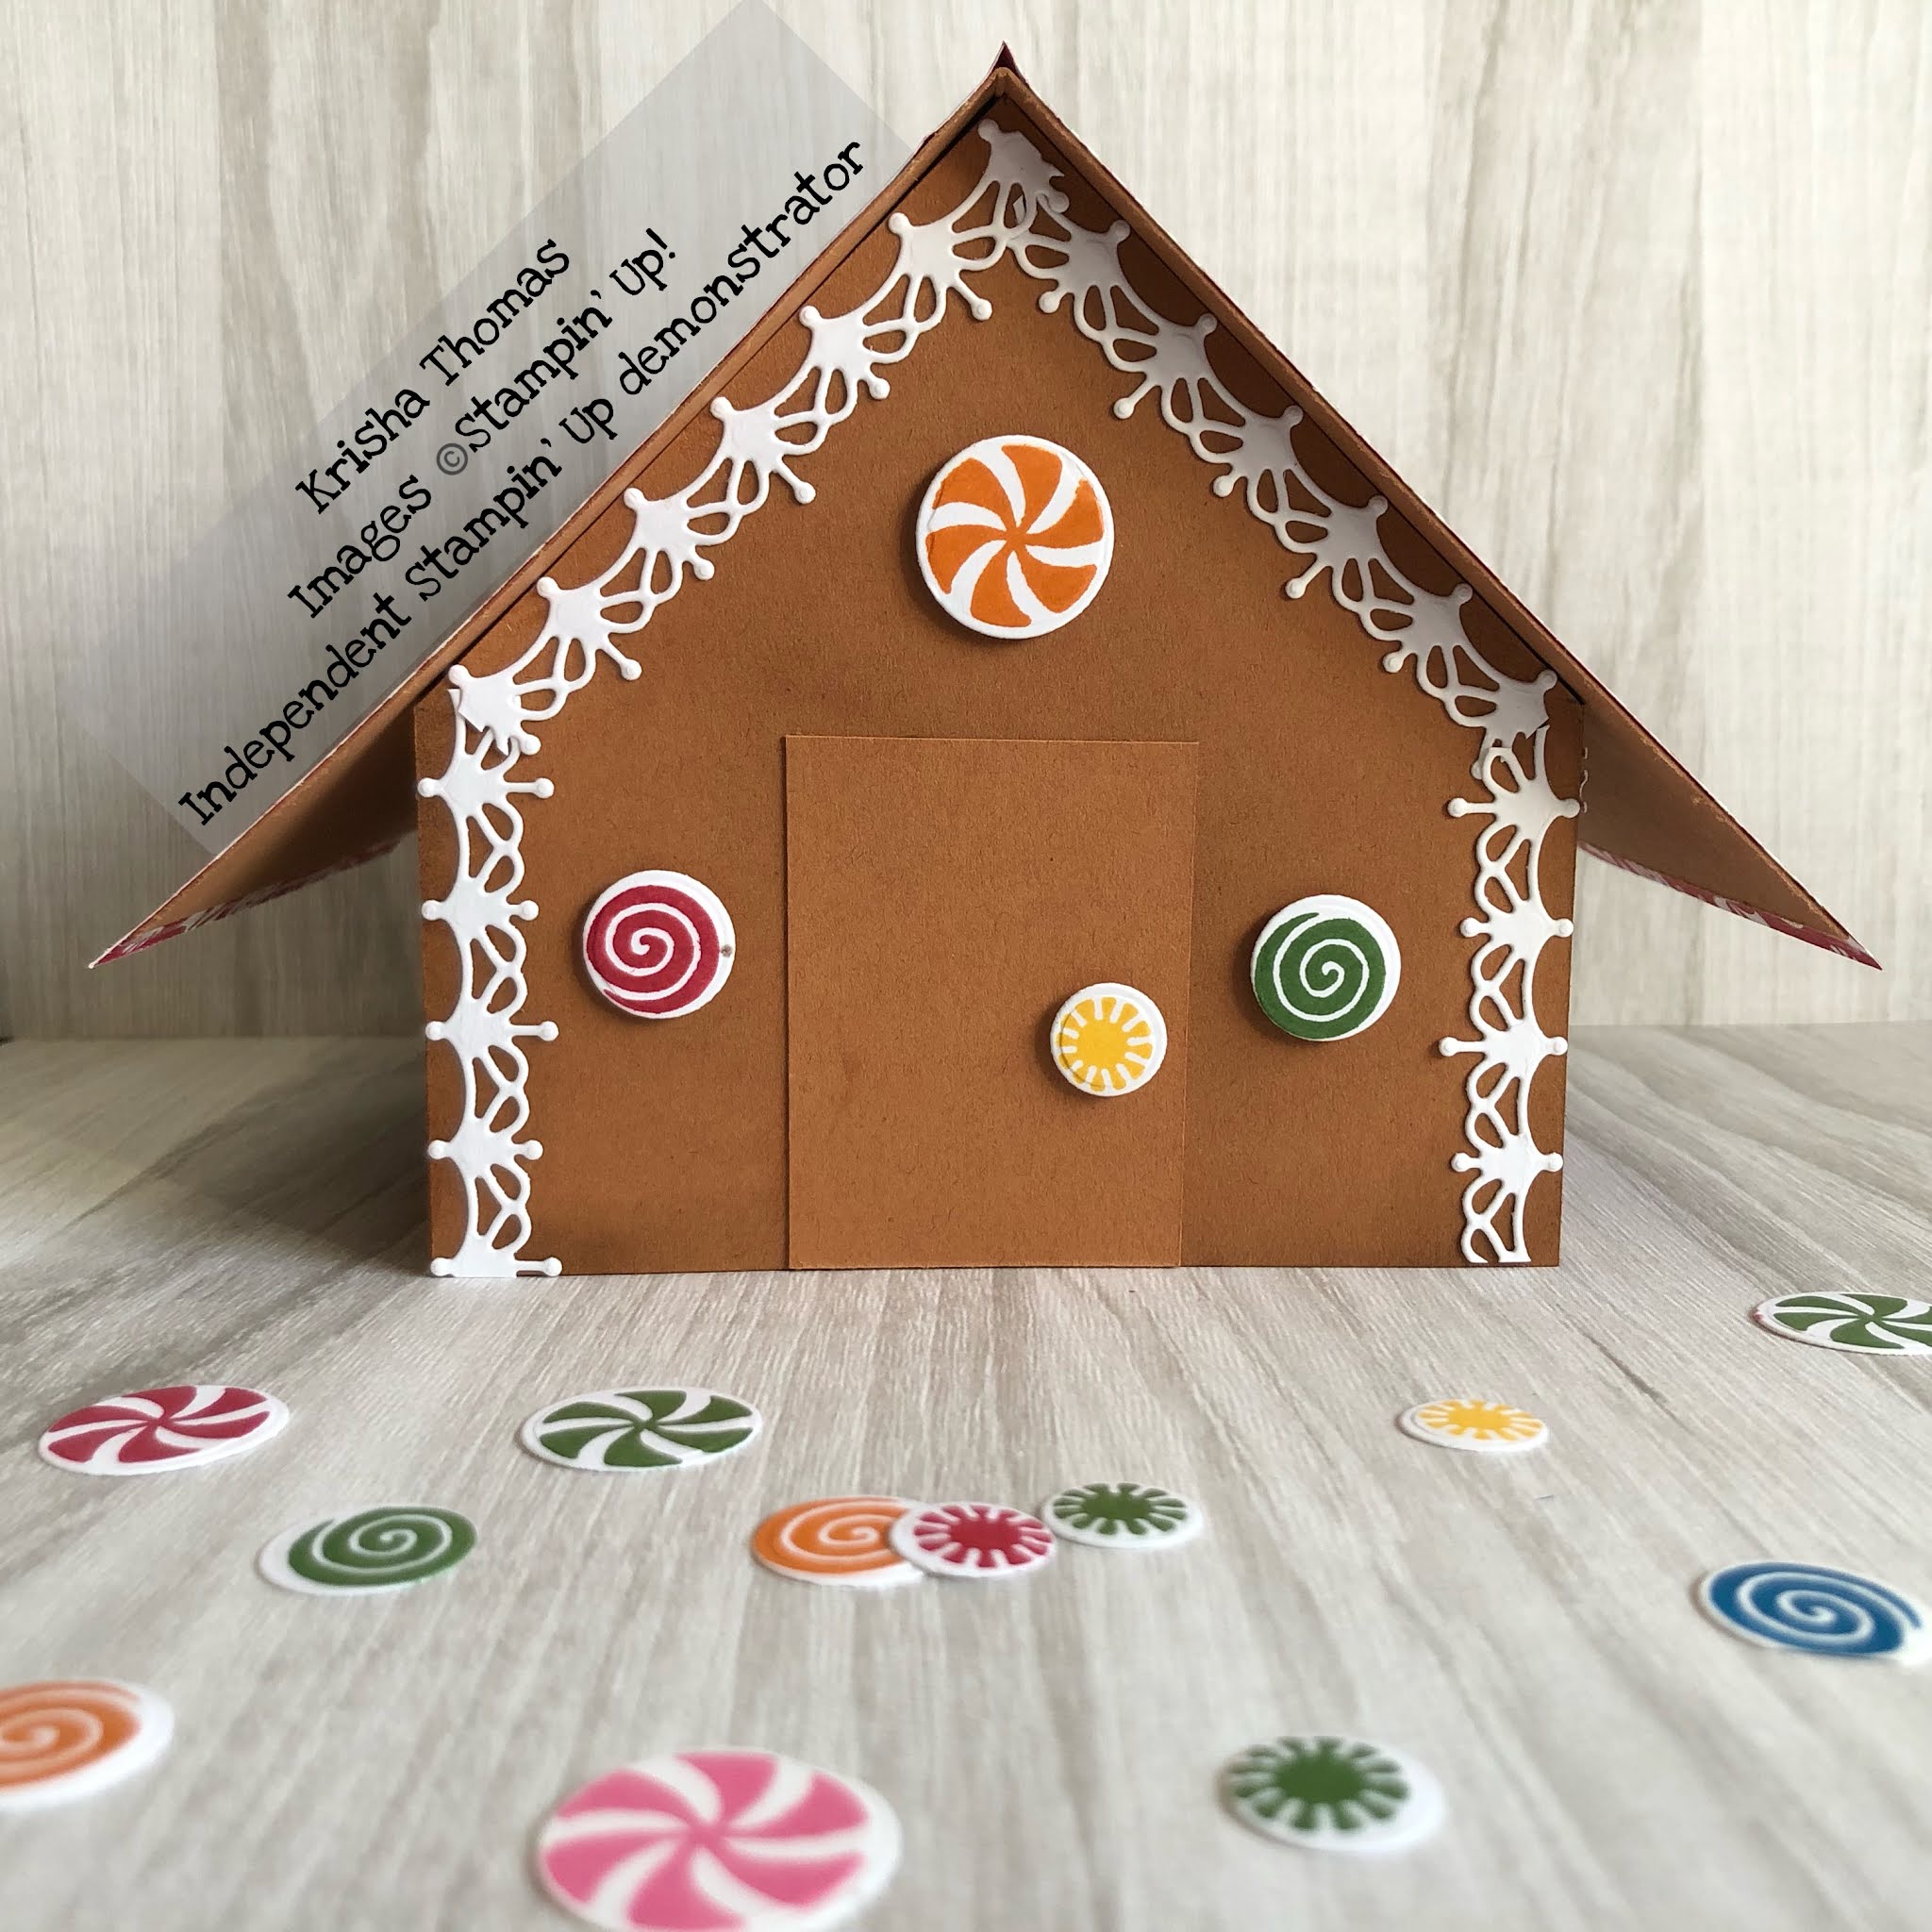
I'm still exploring the Gingerbread and Peppermint Suite Collection, however this time I've created something completely off the page.
I cannot claim credit for the design of this fabulous little Gingerbread house, I followed the instructions from Nancy Amato, a fellow Stampin' Up ! demonstrator.
I love making Gingerbread houses but don't really like to taste of gingerbread! So this little paper gingerbread house is the perfect decoration for my house at Christmas time!

This little house was so easy to make and it folds flat to fit into a DL envelope.


Ingredients and recipe:
Cinnamon Cider cardstock - 2 pieces 4 1/2 by 4 1/2. Using a pencil, lightly mark three sides at 2 1/4, draw a light line between the marks to create the gable for the roof of the house.
Cinnamon Cider cardstock - 2 pieces 2 1/4 by 4 1/4. Score at 1/2 from each end. These are sides of the house.
Use a brown ink to shade the cardstock to give it a cooked look.
White cardstock - 5 pieces 1 by 5 to create the icing by using the boarder from from the Gingerbread dies. These are glued to the top of each side and around the gable of the house pieces - I used the fine tip glue pen to apply a small amount of glue to these.
Apply adhesive of choice to the 1/2 inch flap on the edge of the sides then align to the front of the house.
Cinnamon Cider cardstock- 4 1/4 by 8 1/2 - scored at 4 1/4 on the long side. This forms to base for the roof.
2 sheets of Gingerbread and Peppermint 6 x 6 DSP  to measure 4 1/4 by 6. Glue DPS to roof cardstock - turning the DSP 90 degrees to make ensure the pattern matches on both sides. Trim as needed. This will sit on top of the house once complete.
Cinnamon Cider - 1 by 2 (also shaded with ink) for the door.
Decorate with lollies, stamped using the Frosted Gingerbread stamps and cut out using the Gingerbread dies. I've also added a sentiment from the Frosted Gingerbread stampset onto a precut shape created with a die from the Pretty Pillow Box Dies set.
Remove the roof, fold in half, fold the house flat and the two pieces will slide into a DL envelope.
This card will be going to an elderly Aunt for Christmas - I know she will love it!


Until next time

Happy Crafting.


Wednesday, 22 September 2021

Gingerbread Die cards featuring the Gingerbread and Peppermint DSP

I spent two days creating a huge pile of paper iced gingerbread biscuits because I have so many plans for what I want to make with them.

Once made I had to have a quick play.


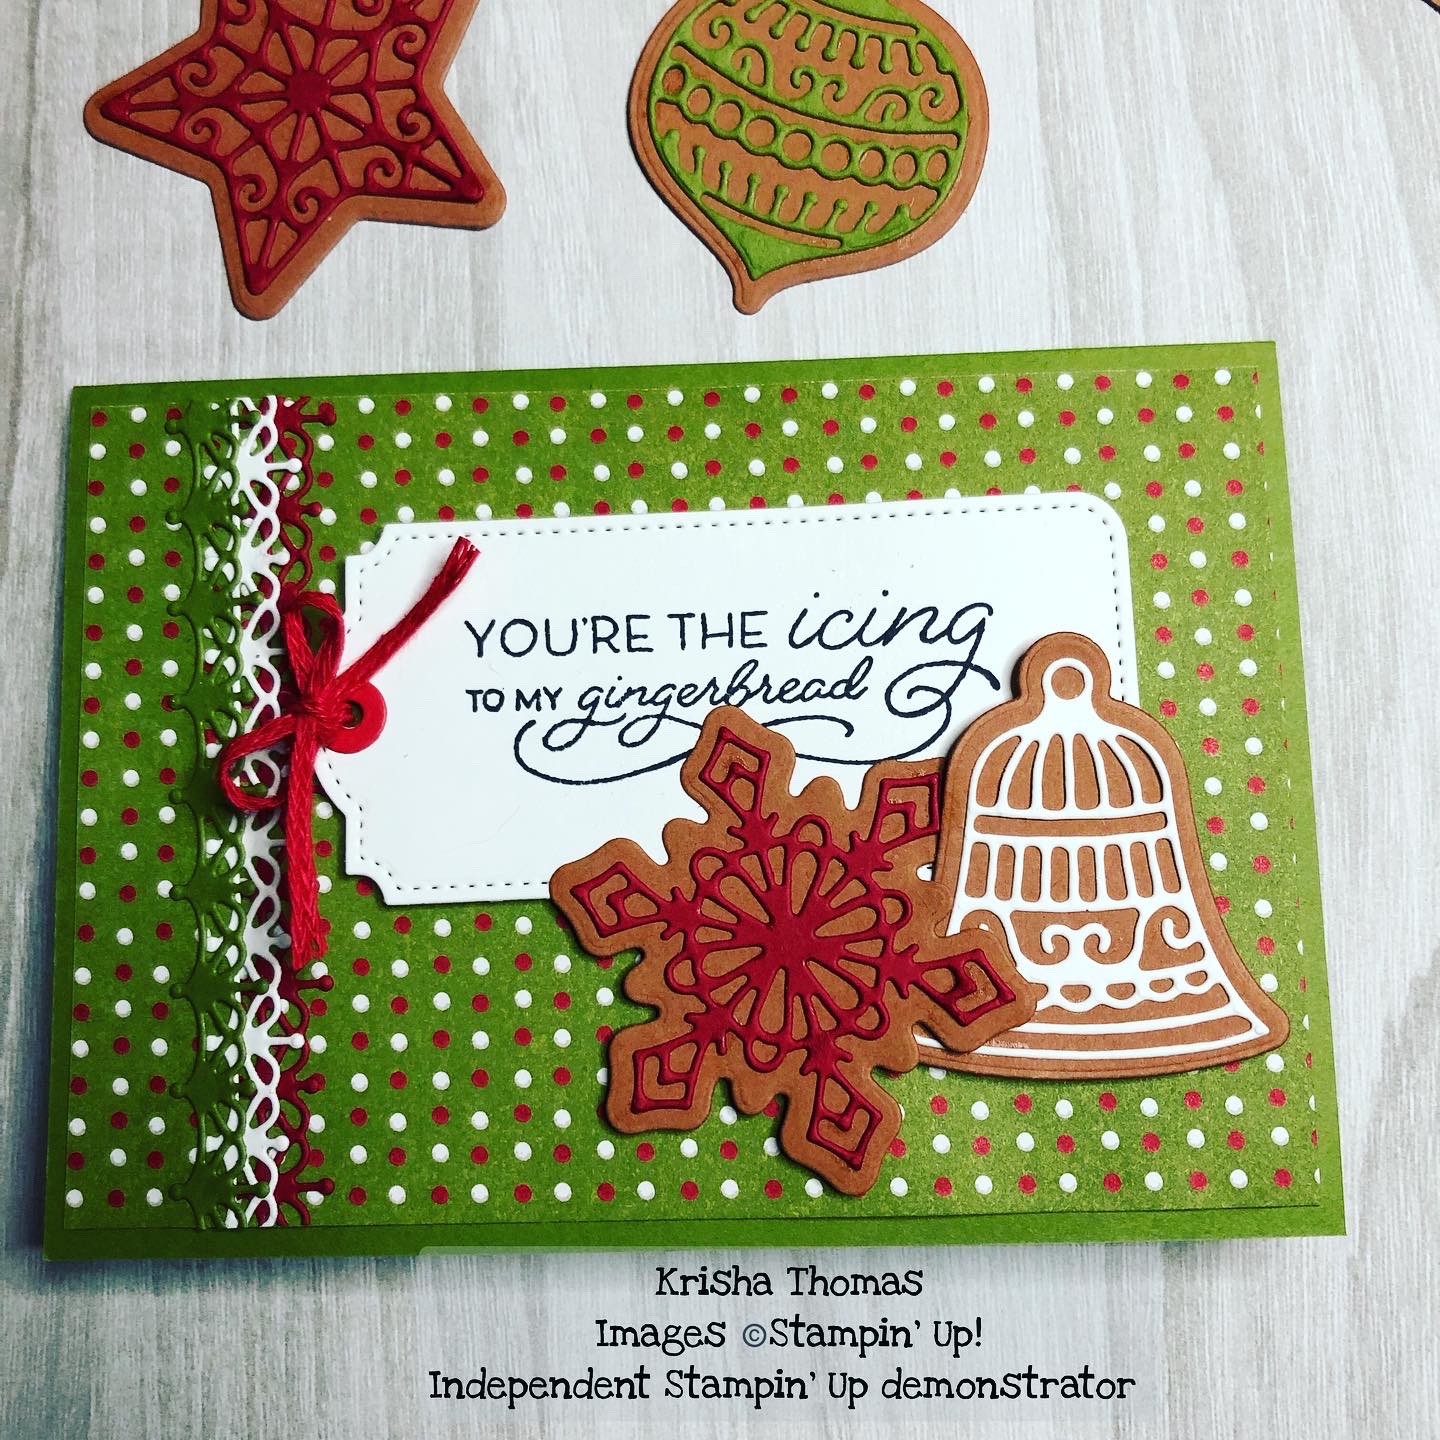
I created this card using the Gingerbread and Peppermint DSP for the background.
I've cut three boarders using the boarder frame in the Gingerbread dies - one in Real Red, one in Old Olive and one in White. I've then layered them to create depth.
I added some white crinkled seam binding ribbon and retired real red linen ribbon with the large tags, and ended up with a set of simple cards created in no time.


If you would like to purchase the gingerbread and peppermint suite collection, you can do so here

Until next time

Happy Crafting.
 

Monday, 20 September 2021

Gingerbread Tag Christmas Cards


Here's a simple set of cards created using the Gingerbread dies and the Gingerbread and Peppermint DSP, as well as the largest dies from the Tailor Made Tags Dies.


Card Ingredients: 
(all measurements are in Inches)

1/2 sheet of A4 Cardstock, scored at 4 1/8. I've used Real Red and Old Olive.
2 x 4 1/8 Piece of DSP. I've used Gingerbread and Peppermint DSP.
 2 x 4 White card for the tag.
Cinnamon Cider card measuring 2 1/2 x 2 1/2 for the biscuit base.
Cardstock 2 1/2 x 2 1/2 in matching card colour.
White linen thread.
5" Scraps of White or Red card at least 2" wide for the boarders. 
Rhinestones basic gemstones.
Real Red and Old Olive stamp pads.

You can watch how I put the card together on my You Tube channel.


Until Next Time

Happy Crafting.


Saturday, 18 September 2021

Gingerbread & Peppermint memories and more envelope memory book


It's only 14 weeks until Christmas and I've been busily exploring the Gingerbread and Peppermint Suite from the July-December mini catalogue. I love this suite with the coordinating papers, stamps and dies. There are endless possibilities to be made with this suite. 


Today I've used the memories and more cards and envelopes to create a memory book. Each of the pages contains memories of the Christmas traditions my family and I celebrate each year. 
There is one page for Our Elves, Cooking, Carols, Trees and one that celebrates all the other traditions.


The video shows each of the pages in more detail and gives you an idea of how the album fits together..


You can find all the items you need to create this album on my online store.

Until Next time,

Happy Crafting.